Keeping your gaming rig running smoothly involves more than just upgrading graphics cards or adding extra memory. One often overlooked component that plays a vital role in maintaining peak performance is the thermal paste applied between your processor and its heatsink. Over time, this thermal interface material can degrade, leading to higher temperatures and potential performance throttling. Understanding when and how to replace it can make all the difference in extending the life of your CPU and GPU whilst ensuring your system remains cool under pressure.
Understanding Thermal Paste: What It Is and Why It Matters for Your Gaming Rig
Thermal paste, sometimes referred to as thermal compound or thermal grease, is a substance applied between the surface of a processor and its cooler. Its primary function is to fill in microscopic imperfections on both surfaces, ensuring efficient heat transfer from the chip to the heatsink. Without this layer, air pockets would form, drastically reducing the effectiveness of your cooling solution and causing your processor to overheat during intensive gaming sessions.
The Critical Role of Thermal Paste in Processor Longevity and Heat Management
The importance of thermal paste in managing heat cannot be overstated. Processors generate significant amounts of heat when running demanding applications, and if that heat is not dissipated effectively, it can lead to reduced performance, instability, or even permanent damage to the silicon. By facilitating optimal thermal conductivity, thermal paste helps maintain lower operating temperatures, which in turn extends the lifespan of your CPU and GPU. Regular maintenance, including timely replacement of thermal paste, is essential to prevent thermal throttling and ensure your components continue to perform at their best.
How different thermal paste types affect heat conductivity and gaming performance
Not all thermal pastes are created equal. The market offers a range of products, each with varying levels of thermal conductivity and longevity. High-performance options such as Grizzly Kryonaut and Noctua NT-H1 are renowned for their superior heat transfer properties, making them popular choices among enthusiasts and gamers. These premium compounds often contain advanced materials that enhance conductivity, resulting in lower temperatures and more stable performance during prolonged gaming sessions. Conversely, lower-quality pastes may dry out more quickly and offer less efficient heat transfer, necessitating more frequent replacement. Choosing the right thermal paste for your system is a crucial decision that directly impacts both cooling efficiency and the overall reliability of your gaming rig.
Recognising when your thermal paste needs replacing: key warning signs
Determining the right time to replace your thermal paste is not always straightforward, as it depends on several factors including the quality of the paste, the intensity of your usage, and the ambient conditions in which your system operates. However, there are clear indicators that suggest it is time for a refresh. Being attentive to these signs can prevent potential damage and maintain optimal performance.
Identifying Overheating Symptoms and High Temperature Readings in Your System
One of the most obvious signs that your thermal paste may have degraded is an increase in operating temperatures. If you notice that your processor is running hotter than usual, especially during tasks that previously did not cause significant heat buildup, it could indicate that the thermal paste has dried out or lost its effectiveness. Modern gaming systems are equipped with temperature monitoring tools that allow you to track real-time thermal performance. Consistently high readings, frequent thermal throttling, or unexpected system shutdowns during intensive gaming are all red flags. These symptoms suggest that heat is not being transferred efficiently from the processor to the cooler, and replacing the thermal paste is likely necessary to restore proper thermal management.
How thermal paste quality and usage patterns determine replacement intervals
The lifespan of thermal paste varies significantly depending on its quality and how the system is used. High-quality thermal compounds such as those from Grizzly and Noctua can remain effective for several years, even under heavy usage, whereas budget options may begin to degrade within a year or two. Gamers who push their systems to the limit with overclocking or extended play sessions will find that their thermal paste may need replacing more frequently than those who use their rigs for lighter tasks. Environmental factors, such as dust accumulation and ambient temperature, also play a role in the degradation process. As a general rule, inspecting and potentially replacing your thermal paste every two to three years is advisable, though more frequent checks are prudent if you notice any of the aforementioned overheating symptoms. Staying proactive with this maintenance task can help prevent costly repairs and ensure your components enjoy a long and productive life.
Step-by-Step Guide to Changing Thermal Paste on Your CPU and GPU
Replacing thermal paste is a straightforward process that, when done correctly, can significantly improve your system's cooling efficiency. With a bit of care and attention, even those new to PC maintenance can perform this task successfully. The key is to follow each step methodically to ensure a clean application and optimal contact between the processor and heatsink.
Properly cleaning old thermal paste and preparing your processor surface
Before applying fresh thermal paste, it is essential to remove all traces of the old compound from both the processor and the heatsink. Begin by carefully detaching the cooler from the CPU or GPU, taking care not to damage any surrounding components. Once removed, you will likely see a layer of dried or caked thermal paste. Use a lint-free cloth or coffee filter along with a small amount of isopropyl alcohol to gently wipe away the old paste. It is important to ensure that both surfaces are completely clean and free of residue, as any remaining material can interfere with the transfer of heat. Take your time with this step, as a clean surface is the foundation for effective thermal management. Allow the surfaces to dry fully before proceeding to the application stage.
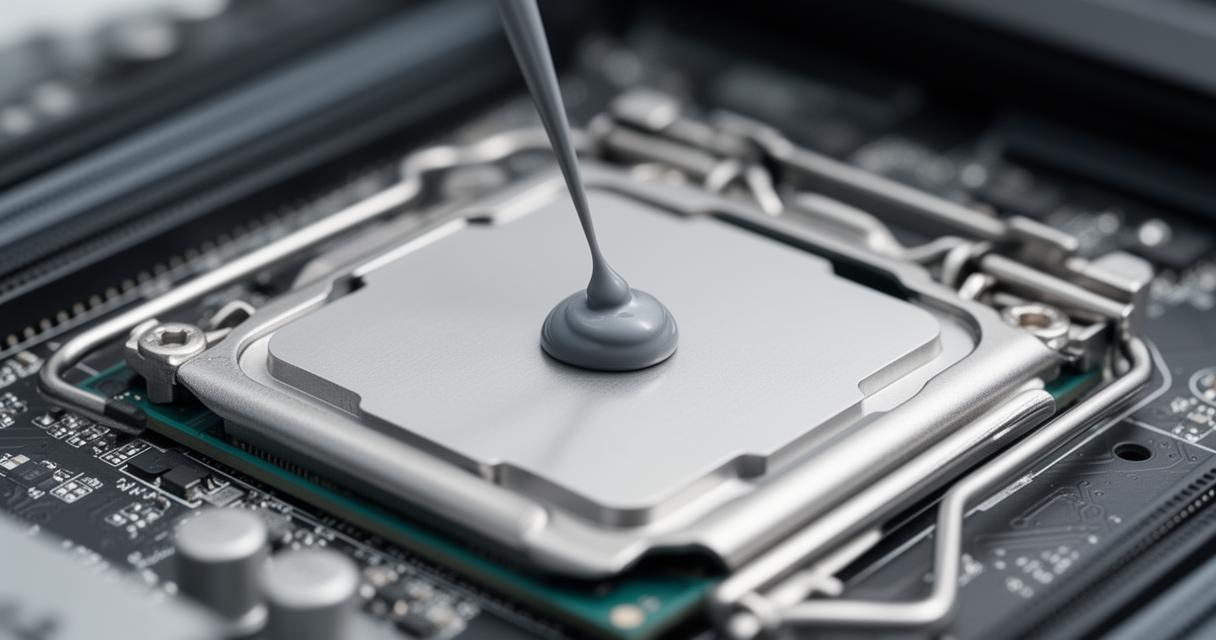
Applying Fresh Thermal Paste and Optimising Heatsink Contact for Maximum Cooling Efficiency
Once the surfaces are clean and dry, it is time to apply the new thermal paste. A small amount goes a long way, and the goal is to create a thin, even layer that will fill in microscopic imperfections without creating excess material that could spill over the edges. Many enthusiasts recommend placing a small dot, roughly the size of a grain of rice, in the centre of the processor. When the heatsink is reattached, the pressure will spread the paste evenly across the surface. Ensure that the cooler is mounted securely and that all fasteners are tightened evenly to maintain consistent pressure. This step is crucial for ensuring good thermal transfer and preventing hotspots. After reassembling your system, monitor the temperatures closely during the first few sessions to confirm that the new thermal paste is performing as expected. With proper application and regular maintenance, your gaming rig will continue to deliver top-tier performance while keeping temperatures well within safe operating limits.